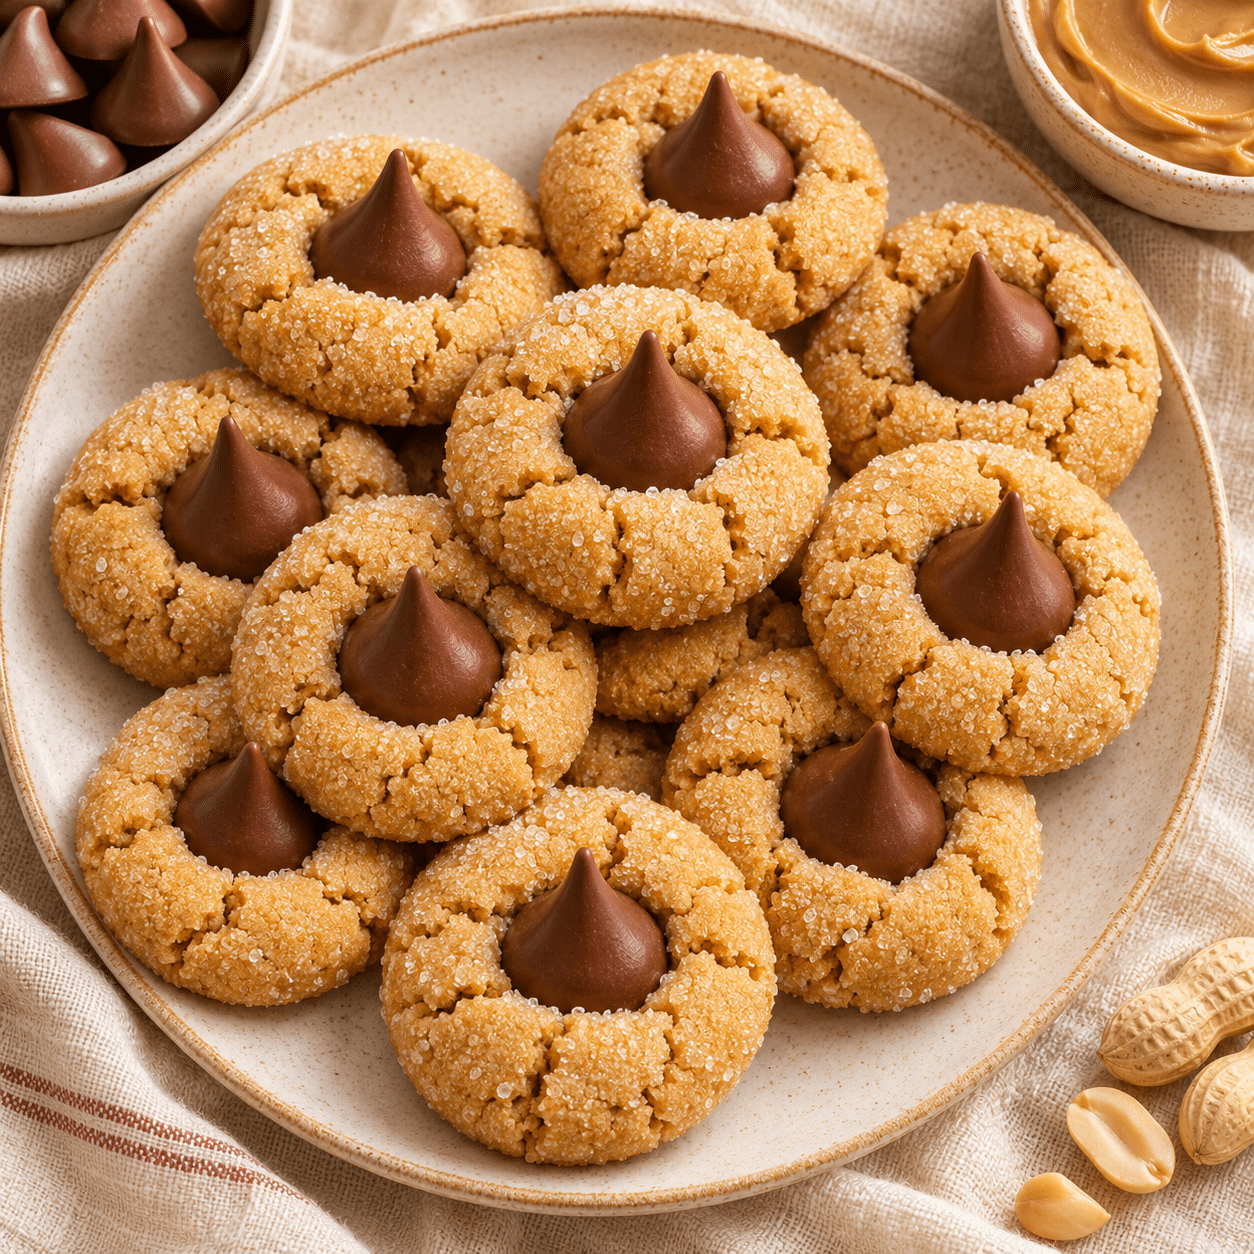
Classic Peanut Butter Blossoms with Soft Centers and Chocolate Kisses
Classic Peanut Butter Blossoms are the cookies you can spot from the other end of a dessert table. Each one has a little crown of milk chocolate, a ring of fine cracks, and a glittering sugar edge. The first bite is all roasted peanut flavor and tender cookie. The next one gets a piece of chocolate. They are small enough to share a plate with a brownie or a slice of shortbread, and sturdy enough to pack into a tin once the centers have set.
There are two moments worth paying attention to. The first comes when you roll the dough. Evenly sized balls give you a tray of cookies that bake at the same rate. The second comes when you press in the chocolate. The cookies need to be warm and soft enough to give under gentle pressure. Set the unwrapped chocolates beside the oven before you put the first sheet in, so you can work straight through the tray without having to pause for wrappers.
This version is inspired by Jennifer’s recipe at Beyond the Butter. Her method gives the cookies a short return to the oven after the chocolate goes in. That brief second bake also gives the dough around the chocolate time to finish setting. Bake a batch for the holidays, or freeze a few portions now and bake them in smaller batches whenever a cookie plate needs something chocolatey.
Jump to the recipe
Ingredients That Shape the Cookie
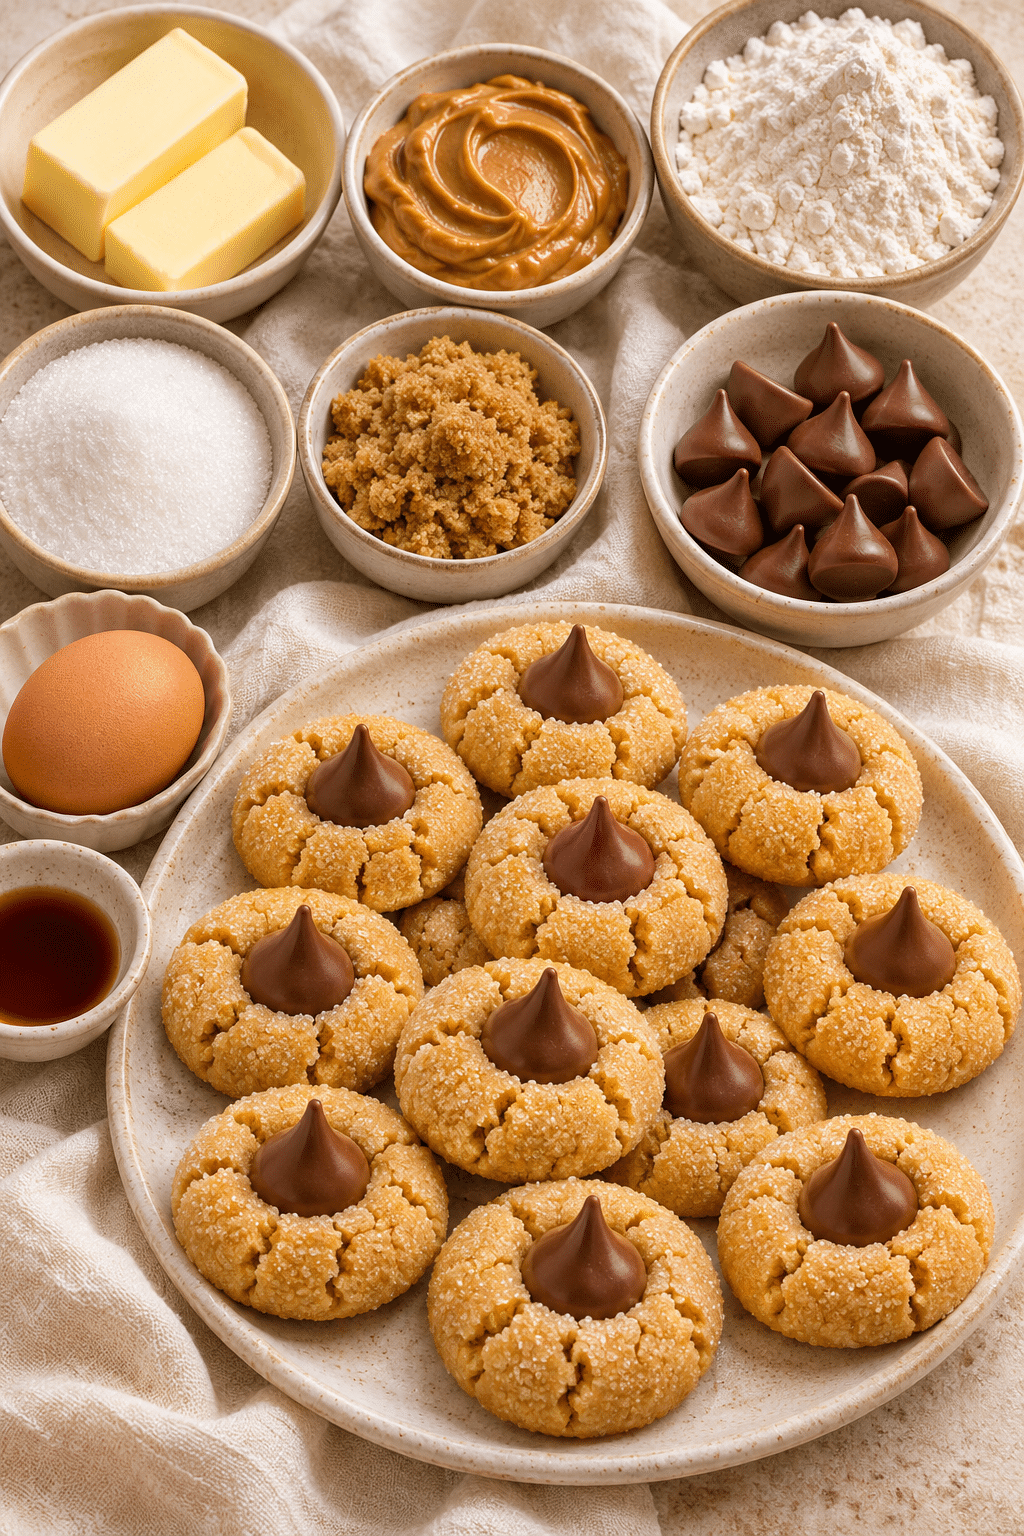
The peanut butter is the main flavor in Classic Peanut Butter Blossoms. Choose a smooth, conventional creamy peanut butter for dough that scoops consistently. A jar with a thick layer of separated oil can take more stirring and can leave the dough softer or more crumbly depending on what lands in the measuring cup. If you already have a smooth peanut butter you use for other cookies, consider how thick it is at room temperature. This recipe expects a spread that holds a soft mound on a spoon.
Unsalted butter gives you control over the salt, particularly because the peanut butter and chocolate may already contain some. Leave the butter out until a fingertip makes an easy dent and the stick still holds its shape. If you cut it into pieces first, it softens faster and more evenly. Use light brown sugar for a mellow caramel note and granulated sugar for sweetness and the familiar delicate crust. Lightly pack the brown sugar so you get a consistent measure. Keep the granulated sugar for rolling in a separate bowl.
All-purpose flour binds the dough. If you are using cups, loosen the flour, spoon it into the cup, and sweep the extra off the top. Scooping straight from a compacted bag can give you a heavier cup and a dry cookie. Whisk the salt and baking soda through the flour. A quick whisk makes it less likely that concentrated spots of leavener end up in a few cookies, which can give them an uneven crumb or flavor.
The egg helps the dough come together. Milk loosens it just enough to mix and vanilla rounds out the peanut flavor. For Classic Peanut Butter Blossoms, count out one chocolate kiss for each dough ball and unwrap a few extras in case a tip breaks. Harvard’s Nutrition Source distinguishes peanut butters made with peanuts and salt from varieties with added sugar or emulsifiers, so the ingredient list can help you identify the style of spread in your jar.
Mix, Chill, and Roll the Dough
Start Classic Peanut Butter Blossoms with the butter, peanut butter, and both dough sugars in a mixing bowl. Cream them until there are no lumps of butter or streaks of peanut butter. A hand mixer works well, and a stand mixer fitted with a paddle makes it easy to scrape down and continue. Scrape the sides and the bottom once the mixture is nearly uniform. The paddle can leave a thin streak of butter underneath the dough that turns into a greasy spot if it goes into a cookie on its own.
Add the egg, milk, and vanilla, then mix until the wet ingredients are evenly distributed. If the egg and milk feel very cold, the mixture may look a little rough at first. Scrape the bowl and continue mixing briefly. Add the dry ingredients on low speed so flour stays in the bowl. Once only a few streaks of flour are left, finish with a spatula. Tilt the bowl and fold from the bottom so any dry flour hiding there comes up into the dough.
Cover and refrigerate the dough for at least an hour. Chilling firms the butter so a portion will hold its shape while you roll it. Use that pause to unwrap the chocolate and line the baking sheets. If you use a single sheet, plan to let it cool between bakes. A hot pan can soften the bottoms of chilled dough balls before they ever reach the oven. Set a second sheet of parchment on the counter so you can portion the next round while the first one cools.
For evenly sized Classic Peanut Butter Blossoms, scoop the dough before rolling any of it in sugar. Roll the portions lightly between your palms until the seams disappear. Pass each ball through a small bowl of granulated sugar, then set it on the lined tray with room to expand. Refill the sugar bowl as needed. This makes it easier to roll a few cookies at a time and avoids tossing out a large amount of sugar after the dough has touched it.
If overnight chilling makes the dough hard to scoop, give the bowl a few minutes on the counter. It is ready when you can roll a ball that holds together without pressing hard. Cover and return the extra dough to the fridge between batches if a warm kitchen is making it sticky.
Bake and Add the Chocolate at the Right Moment
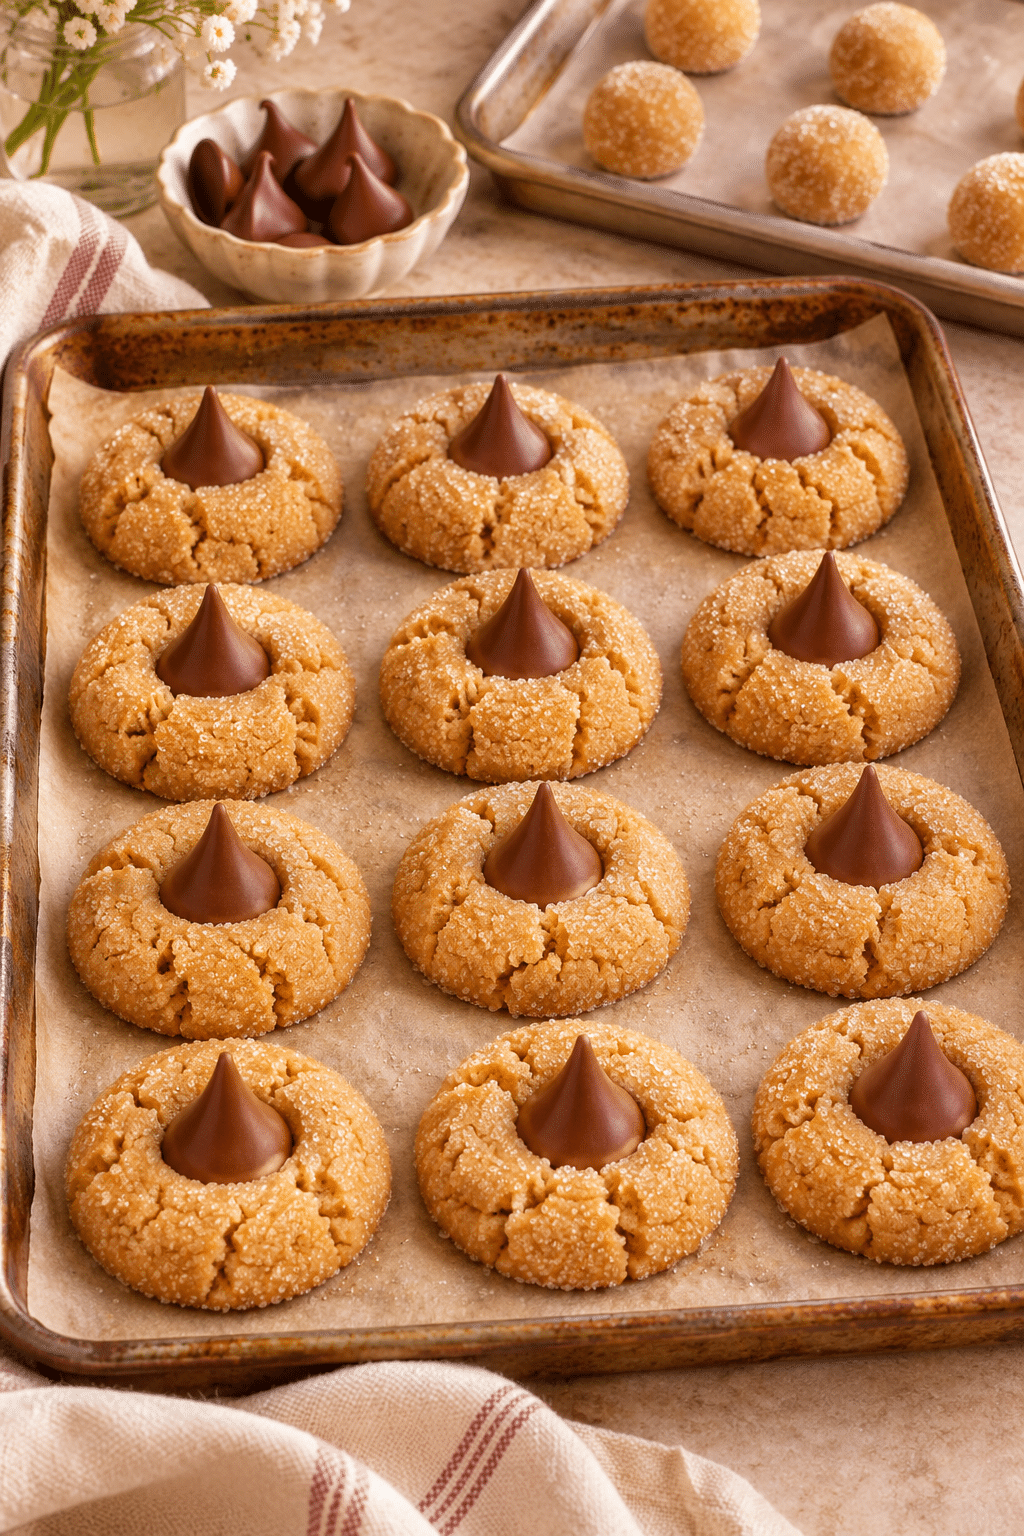
Classic Peanut Butter Blossoms bake quickly once the oven is fully heated. Put a tray just above the center rack and start checking at seven minutes. The dough will have puffed a little, and the outer edge should look set. At this stage the middle can still look soft, which is what you want when you press in the chocolate. Pale cookies with faint golden color along their bases will finish softer than cookies that look evenly brown from above.
Set the hot pan on a heatproof surface. Hold each chocolate by its sides and place the flat base in the center of a cookie. Give it gentle downward pressure until the dough forms a small collar around it. A few little cracks should open at the sides. Working gently allows the chocolate to settle without pushing the cookie all the way flat. If one cookie has a deeper crack, leave it on the sheet to firm up. The base often holds once the dough cools.
Return the tray to the oven for two minutes. The chocolate may look glossy as it warms, and the tops can be delicate for a while after the tray comes out. Leave the cookies on the sheet for five to ten minutes so their bases can firm up. Slide a thin spatula under the bottom of each cookie and transfer it to a rack. Lifting by the edge or by the chocolate can leave marks while the cookie is soft.
A light-colored metal sheet lined with parchment makes it easier to see how quickly the bottoms brown. If you are using a dark sheet, lift the edge of a cookie with a thin spatula when the first tray is nearly done. The underside can color faster than the top. Write down the timing that works with your pan and oven, especially if you plan to bake the rest of the dough on another day.
Let Classic Peanut Butter Blossoms cool until both the dough and the chocolate are set before stacking them. If a warm room makes the chocolate slow to firm, give the cookies extra time on the rack. Keep an eye on each new tray as you bake. Oven hot spots or a darker baking sheet may change the timing by a minute. Bake one tray at a time if you want to use the same rack position and repeat the results from the first batch.
Fix Common Cookie Problems
If Classic Peanut Butter Blossoms spread into wide, flat rounds, look at the dough and the pan before changing the amount of flour. Butter that was already melting when you mixed it, dough that sat beside a hot oven, or a baking sheet still warm from the previous round can all produce extra spread. Chill the next tray of dough balls while the oven finishes heating. Use a cool pan lined with parchment. Start with a few cookies if you want a quick read on the next batch without committing the whole tray.
If a batch turns out dry, check how the flour was measured and when the cookies came out of the oven. Measuring by scooping can pack more flour into the cup than intended. Baking until the entire top deepens in color also changes how the cookie eats once it cools. For soft centers, watch the edges and remember that the first bake gets a two-minute finish after the chocolate goes in. A pale top and a set rim give you a useful cue when the timer and your oven seem to disagree.
Cracks are part of the shape. If a cookie breaks all the way through, the chocolate may have been pressed too far, or the cookie may have firmed up while waiting on the counter. Work from one end of the tray to the other and stop pressing when the chocolate stays upright on its own. A cookie that loses its top in transit is still good crumbled over vanilla ice cream. Save the tidiest ones for gifts if you are sharing a batch.
Easy Peanut Butter Blossoms depend on a few repeatable details. Give each portion the same size, keep unused dough cool, and bake one pan at a time if the oven browns unevenly. For Classic Peanut Butter Blossoms with softer edges on the next tray, keep the portion size the same and pull the pan a little earlier on the first bake. Changing one step at a time makes it easier to tell what helped.
If the chocolate tips lean, check that the rounded tops have enough give before you add the chocolates. Set the flat base directly in the middle and press straight down. Choose a tray with a level place to cool, using a trivet or a sheet pan rack. When the cookies are cool enough to move, keep them on the wire rack until the chocolate has firmed again. This matters most when you plan to wrap the cookies individually.
Holiday Variations and Serving Ideas
Classic Peanut Butter Blossoms fit a Christmas cookie tray because the chocolate centers show even when the cookies sit close together. Leave a little space between them and put darker cookies around the light sugar edges. A white plate makes the roasted golden color stand out. For a holiday box, choose a flat insert or small paper cups that keep the chocolate tips away from the lid. Mark the box clearly as containing peanuts when you are sharing it with a group.
The classic choice is a milk chocolate kiss. A dark chocolate kiss gives the same peaked silhouette with a deeper cocoa flavor. For a different look, try a small square from a chocolate bar on a few cookies. Place it flat against the center and set the cookies aside to cool where they can stay undisturbed. A wide piece of chocolate can soften over the edges, so cut the squares small enough to fit inside the cracked ring.
Granulated sugar makes the traditional fine coat. For a holiday tray, roll a portion in fine colored decorating sugar and leave the others plain. Dry sanding sugar generally stays more distinct on the surface than a moist or very coarse coating. Bake an example first if the color matters for a gift box. You can also add a few flakes of salt to the top of a dark chocolate variation once the chocolate looks glossy. Taste the chocolate and peanut butter first to decide how much salt you want.
Classic Peanut Butter Blossoms are small enough to pair with another dessert. Serve them beside a pan of cinnamon blondies, a few pieces of peppermint bark, or shortbread. A cup of unsweetened tea or coffee makes a good companion if you want to notice the roasted peanut flavor. For a decorating afternoon, let people roll the dough beforehand, then have one person handle the hot pan and the chocolate. Everyone can see the cracks form as the chocolate goes in.
Make Ahead, Store, and Freeze
Classic Peanut Butter Blossoms can be prepared in stages. Mix and chill the dough the day before, then scoop, roll, and bake it when you have time for several trays. Keep the dough tightly covered so the exposed surface does not dry out. If you prefer to portion the dough early, refrigerate the uncoated balls in a covered container, then roll them in sugar just before you bake. The coating stays more distinct when it goes onto cold dough shortly before baking.
To freeze unbaked dough, set the plain portions on a lined tray and freeze them until firm. Tip them into a freezer bag or container and label it with the recipe and date. A note on the label can remind you to roll the balls in sugar and set out the chocolate before preheating the oven. Bake frozen portions straight from the freezer and start checking after nine minutes. Add time in small increments until the rims are set, then press in the chocolates and finish the second bake.
Cool baked cookies all the way before closing the container. Parchment between layers keeps the cookies from rubbing against the chocolate points. Store them at room temperature in a snug, airtight container for up to a week. They look their best packed in a shallow box, with the tallest tips facing up. If you move a box from a cold car into a warm room, leave it shut until it warms to room temperature so less moisture settles on the chocolate.
To freeze baked Classic Peanut Butter Blossoms, use a rigid freezer container that can protect the tops. Set parchment between layers and keep the box level. Thaw the cookies covered at room temperature and check that the chocolate feels firm before arranging them for a party. If you are choosing between the two freezing methods for a holiday tray, frozen dough lets you bake the cookies closer to serving, while frozen finished cookies give you something ready to pack with little notice.
For a small household, freeze most of the dough and bake six or eight cookies at a time. You can put that portion on a quarter sheet pan if it fits your oven, leaving about two inches between the dough balls. Keep the remaining chocolates wrapped in their bag until you need them. If you plan to bake two flavors from the same stash, set out the toppings before the first tray goes in and clearly mark all the containers after the cookies cool.
Classic Peanut Butter Blossoms Recipe and Step-by-Step Instructions
Makes about 48 small cookies · Chill 1 hour · Bake 9 to 10 minutes per tray
For the dough
- 1¾ cups all-purpose flour
- 1 teaspoon baking soda
- ½ teaspoon fine salt
- ½ cup creamy peanut butter
- ½ cup unsalted butter, softened
- ½ cup granulated sugar
- ½ cup lightly packed light brown sugar
- 1 large egg
- 2 tablespoons milk
- 1 teaspoon vanilla extract
For the coating and topping
- ½ cup granulated sugar, for rolling
- About 48 milk chocolate kisses, unwrapped
Step-by-Step Instructions
Follow these five steps for evenly baked cookies with a soft center and a chocolate kiss that stays upright.
- Mix the dough. Whisk together the flour, baking soda, and salt. Beat the peanut butter, butter, and both dough sugars until evenly creamy. Beat in the egg, milk, and vanilla. Stir in the flour mixture on low speed until the dough comes together.
- Chill and prepare the pans. Cover the dough and refrigerate for at least an hour. Line two baking sheets with parchment, put a rack just above the middle of the oven, and preheat to 375°F (190°C).
- Portion and bake. Shape the dough into 1-inch balls. Roll them in the separate bowl of sugar and space them about two inches apart on the sheets. Bake one tray at a time for 7 to 8 minutes, until the edges have begun to set.
- Add the chocolate. Remove the tray, gently press a chocolate into each center, and bake another 2 minutes.
- Cool before packing. Leave the cookies on the pan for 5 to 10 minutes, then move them to a wire rack. Let the cookies and chocolate set before stacking.
For Classic Peanut Butter Blossoms in more than one batch, put the unused dough in the refrigerator and let a used sheet pan cool before you put fresh dough on it.